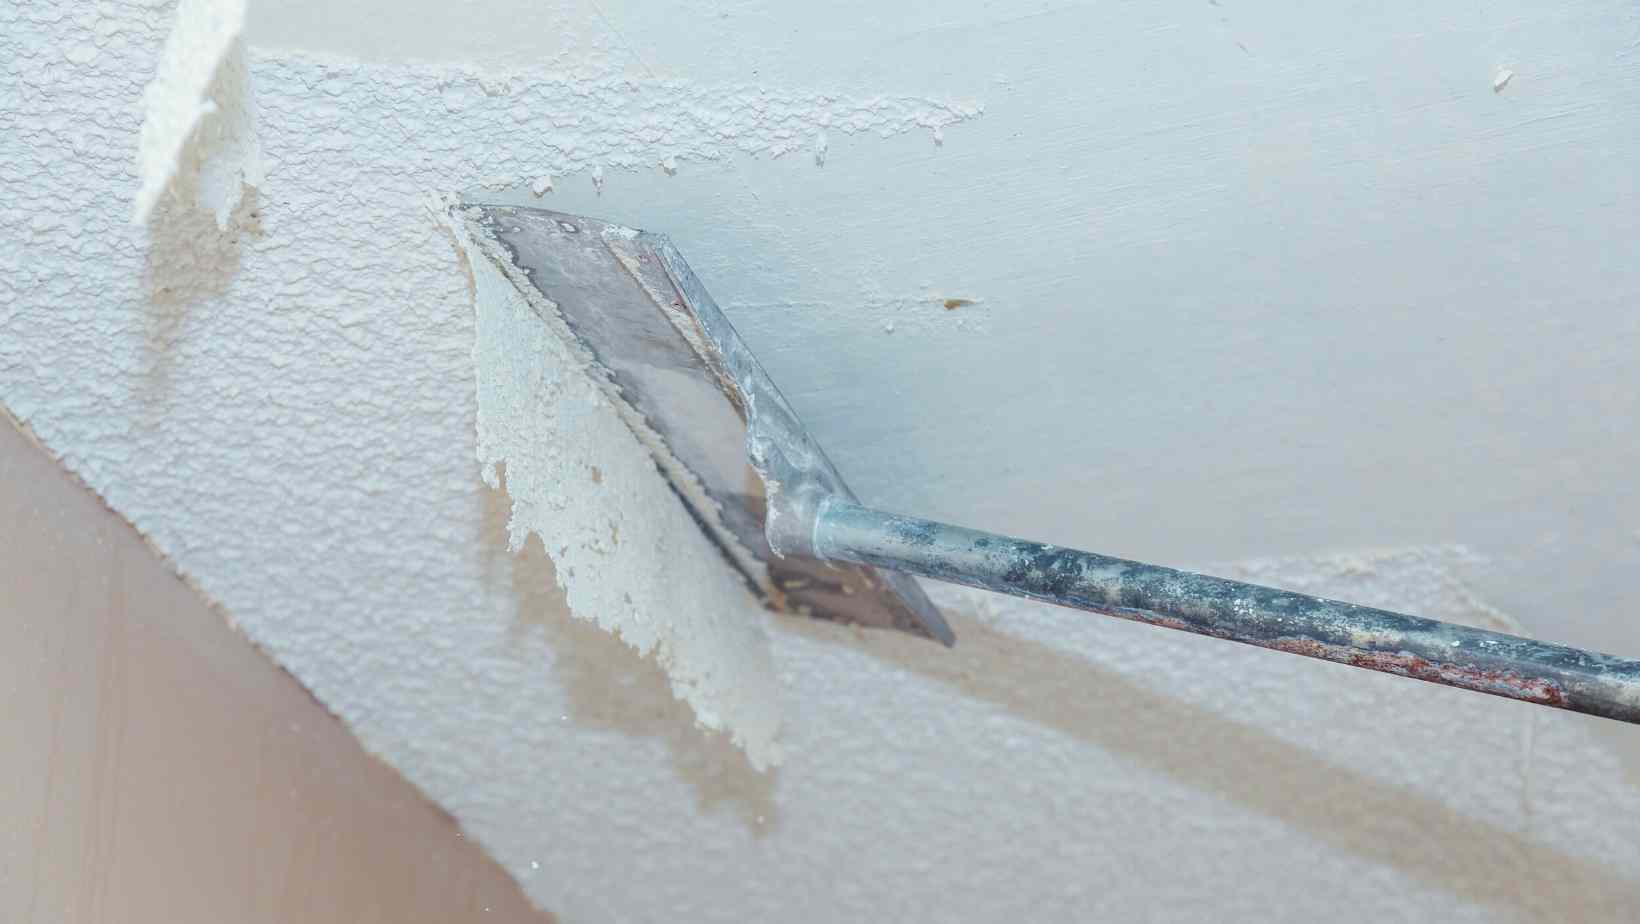
When you look up at your ceiling and wonder how to get rid of the popcorn ceilings, well you are not alone. Back during the 60s and 70s, they were big because they made the finishing process easy and hid imperfections. But it can’t be denied that their rough texture causes a lot of dust to get stuck to them and cobwebs become common.

Here we have a step-by-step guideline that you can follow to get rid of the popcorn ceiling:
Jump to:
1. Test for Asbestos
Before starting to clean your ceiling, always test for asbestos. Any popcorn ceilings installed before the 1980s may contain asbestos, which is a known cause of cancer. Contact your local health department to get your sample tested. If your popcorn ceilings contain asbestos, it is best for you to get a professional to do the cleaning.
2. Do a scrape test
If your ceiling does not contain asbestos, start with a scrape test. Here, you simply need to scrape off a small area of your ceiling. If the texture comes off easily you are good to go, if it doesn’t come off dry then spray water which softens the texture and helps to make it come off easily.
3. Get the furniture out
When you are working in the room, make sure you get as much furniture as you can out of the room to avoid causing a mess on them. Also, you don’t want your furniture to get in your way every time you are moving the ladder.

4. Cover the room
Once you have moved the furniture, cover the floors and walls with plastic clothes before removing the popcorn ceiling. Using plastic drop clothes is recommended because it doesn’t soak in the water, and it is also helpful during the cleaning process as you can just roll it and throw it away in the garbage. It will also be useful after you are done with removing the popcorn ceiling to catch the mess made during sanding and repainting.
5. Remove fans from the ceilings
Remember to remove all electronics from the ceiling before diving into the scraping process. It will not only come your way when working but also if you accidentally spray water in the electronics fixture, it might get damaged. So make sure to stuff newspaper or rosin paper inside the open electric space to keep them dry during the process. Also, shut down the power supply to those fixtures.
Now you can get on with scrapping away the popcorn ceilings and getting back a smooth one.
Tips to cause less mess
- Work with a Smaller Section: If you work with a larger section at a time, then you are straining your arms and causing more mess. First of all, when you work with a larger area, the popcorn might dry before you have time to scrape it off, and you have to respray and wait for at least another 10 minutes before scraping it again secondly, you cannot keep up with it for a long time.
- Use a mud pan to catch the mess: When you use a mud pan, you will be able to catch the popcorn before it hits the floor. You can also use it to clean the scraper when it gets loaded up, and you don’t have to continuously lookout to avoid the wet popcorn while moving around with the ladder.
- Round off the scraper’s corners: Before you start scraping, round off the corners of your scraper to avoid scraping and leaving ceiling wounds. You can use a filer, or an electric grinder to do it.
- Smooth After Scraping: Once you are done scraping off the popcorn from your ceilings, smooth it out. In doing so, you are not only smoothing the ceilings but also preparing them to be painted.
Wrap Up
Follow the above steps to get rid of the popcorn ceiling easily. Remember to keep the furniture out and the electric fixtures covered, so they do not come in contact with water.
Always test for asbestos before getting into the scraping process. Proceed with the cleaning if the result is negative, otherwise, leave it for a professional to finish up.


